

best sellers
DIY Kits 📦✨

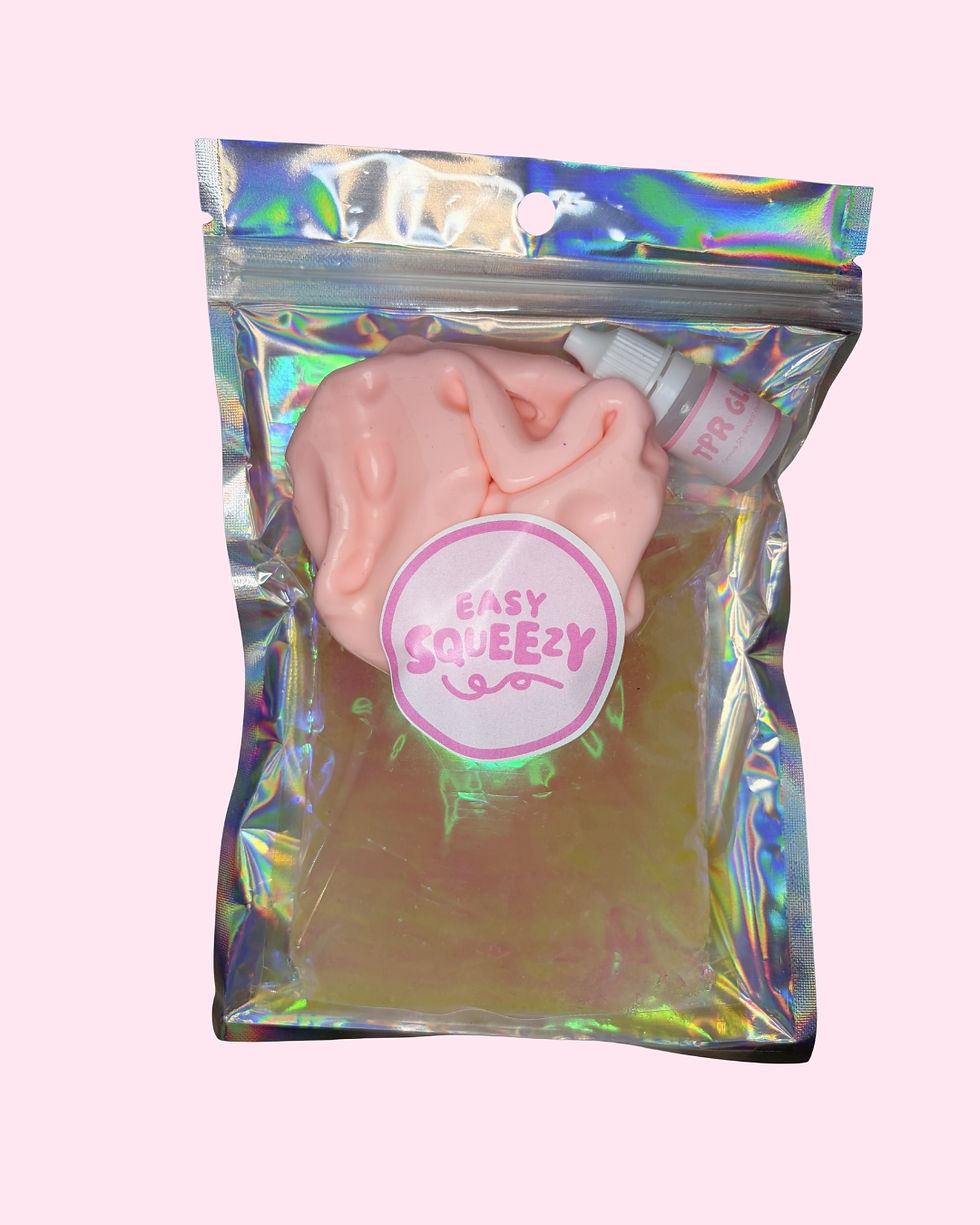


Ready to create your very own squishy masterpiece?
Welcome to the Easy Squeezy DIY guide, your go-to spot for step-by-step instructions, creative ideas and tips to make your squishy extra special!
Whether you're making your first squishy or experimenting with new colours, textures and crunchy fillings, we're here to help you every step of the way. Get creative, try something new and make it totally you!


Show us your creation!
Upload a TikTok featuring your squishy and tag us for a chance to be featured on our platform!
DIY Squishy Kit Instructions

Mix it. Make it. Squish it!
Make It Safe, Make It Squeezy!
Create Safely, Squish Responsibly.
Glue Safety
- Keep it away from your eyes and skin.
- Gloves are great for keeping hands clean!
- Grown-ups: please supervise younger makers.
Glue Storage
- Keep the lid on tight when you're done.
- Store in a cool, dark spot like a drawer.
- Keep in the original container to stay organized!
Small Parts
- They look like sweets, but they aren't!
- Keep small bits away from little pets.
- Keep loose beads stored in their original packaging.
DIY Crunchy Squishy
Step-by-Step Instructions
Ready, Set, Crunch!
Before you begin
Make sure you have all your components! All materials included in your kit are pre measured for your squishy.
Each Crunchy Squishy Kit will include:
• Squishy Skin (Style varies by kit)
• Clay Base (Amount varies by kit)
• Crunchy Mix (Amount varies by kit)
• Glue (Not all kits include glue)
Recommended Materials (not included in kit):
• Cling wrap
• Bowl or suitable container to mix
• Rubbing alcohol
• Gloves

Step 1: Mix it
Combine your Clay Base and Crunchy Mix in a bowl or suitable container!
1# Pro Creator Tip
Don't over mix your clay base and crunchy mix, this can create air bubbles in the filling which will create air in your squishy after sealing.
Step 2: Fill it
Fill your Squishy Skin with your soft yet crunchy filling! Shape your filling to a shape that matches the squishy skin, the stretch the skin over the base to fill.
2# Pro Creator Tip
Don't over fill your squishy! I know it's tempting, but it can make it difficult to glue the stopper onto the squishy properly. Always leave some space near the opening!
Step 3: Fill it
Ensure no clay residue left on or around the opening of the squishy. This stops the glues from properly sealing your squishy.
3# Pro Creator Tip
Clean the opening and stopper with rubbing alcohol, make sure rubbing alcohol has dried before gluing!
Step 4: Seal it
Apply glue to the opening of the squishy, then apply glue to the underneath of the stopper. Place the stopper into the opening of the squishy, then apply glue to the top of stopper.
4# Pro Creator Tip
We know sealing the squishy is the most important step when creating your squishy, but it can also be the hardest. So we made a video guide!
Click Here to View
Step 5: Cover it
Wait a few seconds after applying the glue, then stretch cling wrap over the seal and squishy. Wait 24 hours before removing cling wrap to allow the glue to fully dry.
5#Pro Creator Tip
I know it's tempting, but don't squish your squishy until it has fully dried after 24 hours. Hide your squishy until the times up to avoid temptations!
Step 6: Squish it
After 24 hours your Squishy is ready to be SQUISHED! You now have your very on custom made squishy!